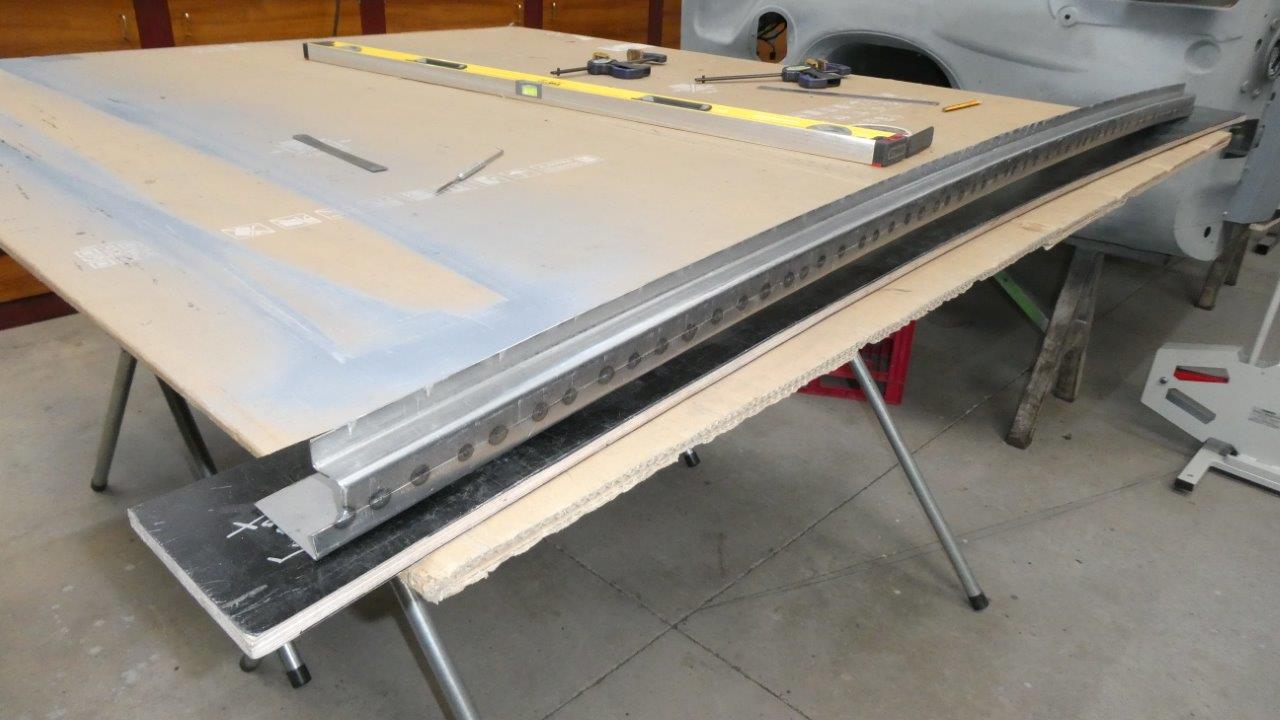
Here is the cabin side of the lower windscreen support where we last left off, although had fully welded it then too. That was when I discovered my body doesn't like all the hammering already to get the distortion back out. Getting this all back inline again was a lot more frustrating than normal for some reason. Maybe it is just my old age!
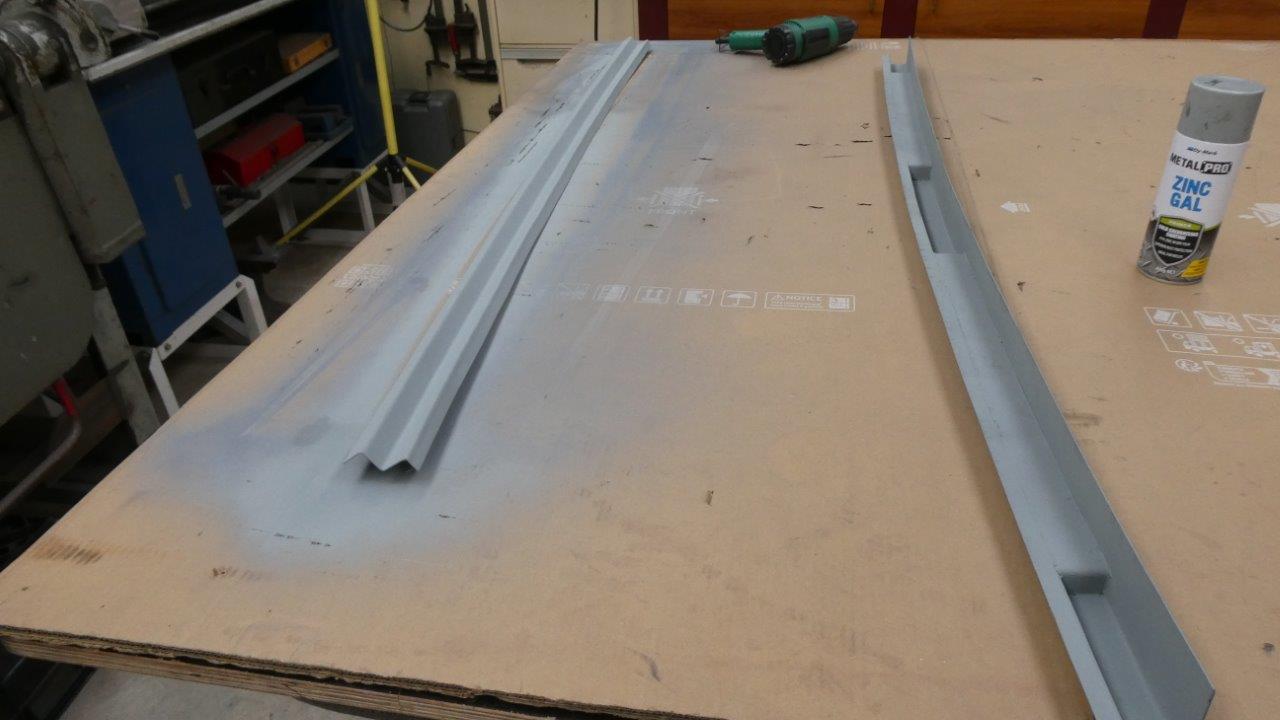
I folded and tipped the front side the usual way with shrinking and stretching in between to get the shape. Notice that now also the back side piece on the right has had compartments welded in to seal off the area for the defrost ducts.
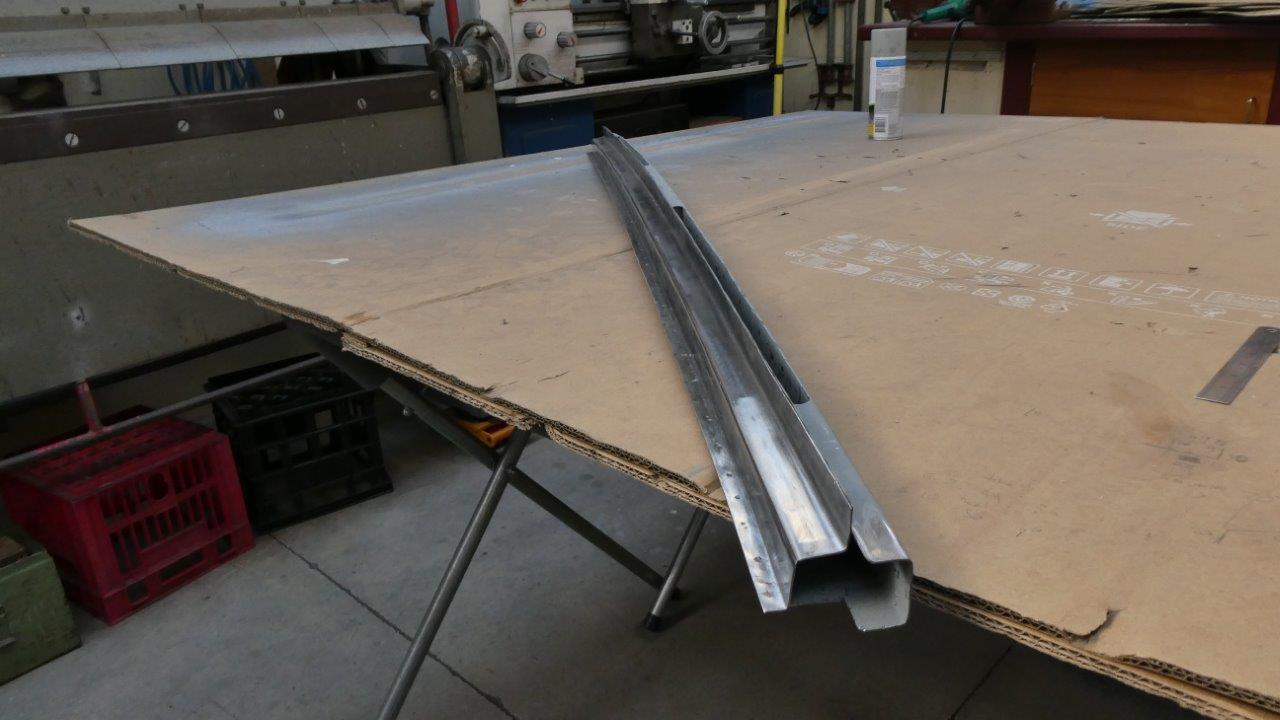
The two halves were spot welded together on my old portable resistance welder. The spots welds all needed a few hits to stretch out the shrinkage from them, but took little effort.
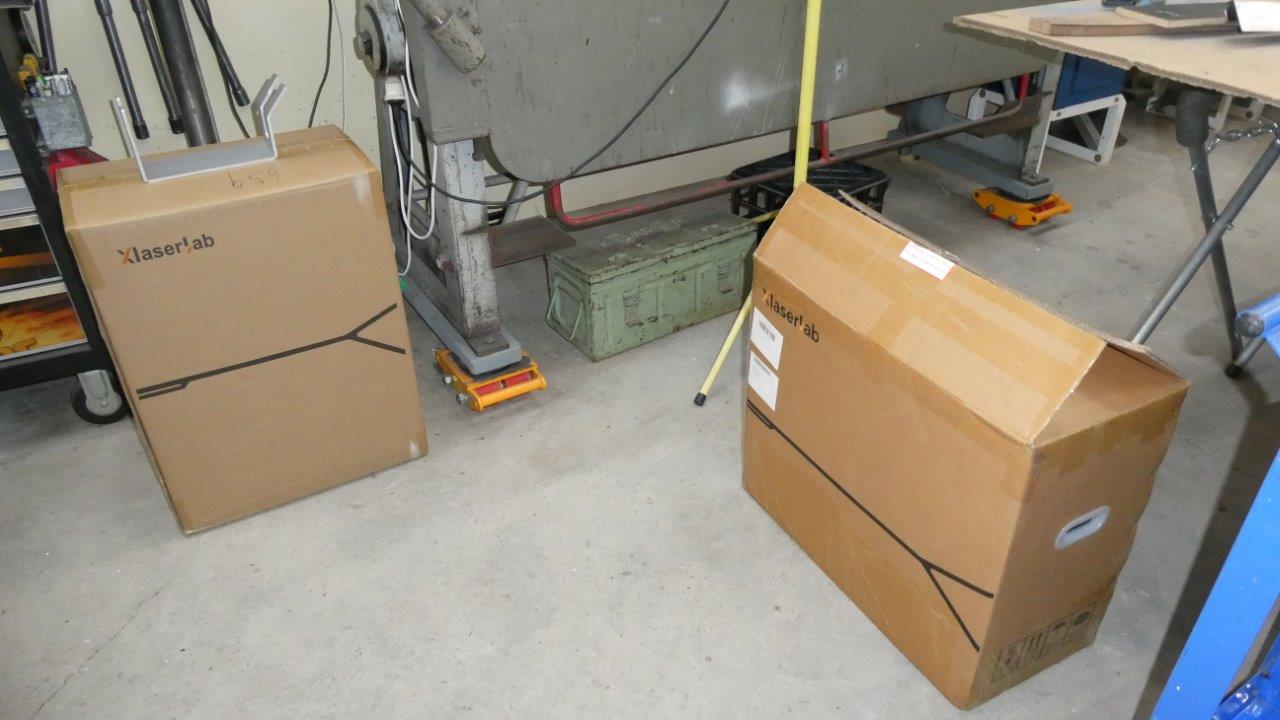
Now this is where things get interesting. While recovering from the pains of the many hours of working out shrinkage distortion of the cabin side of the lower windscreen support, I finally took the plunge to reduce the planishing, grinding and sanding of long welds and the time it takes. I had been researching and following groups on laser welding all year to work out which was best for me. I wanted a welder specifically for welding sheet metal etc that also had a wire feeder. Must be able to run on a 15 amp 240 A/C power circuit and have plenty of support from other users to sort out any problems that might, or will, come up. After ruling out the direct from China large water cooled machines where their specifications just did not add up, or had little to no support, I narrowed it down to the 800W or 1200W xTool MetalFab machines and the Xlaserlab X1 Pro Laser 700W. In the end it was the latter than won out as was far more affordable, had the most user groups that were helpful to what I would be using it for, and would run on a 15 amp circuit instead of a 20 amp one or the 800w and 25 amp for the 1200w xTool models. The xTool also needed a air compressor capable of 145 psi where as the X1 only 20-50 psi. They also had a warehouse not far from me in Australia and had the AU plug and included shipping in the price as well. These two boxes arrived less than a week later. The heavy box with the laser machine was by a local courier company and the wire feeder by Auspost a day later.
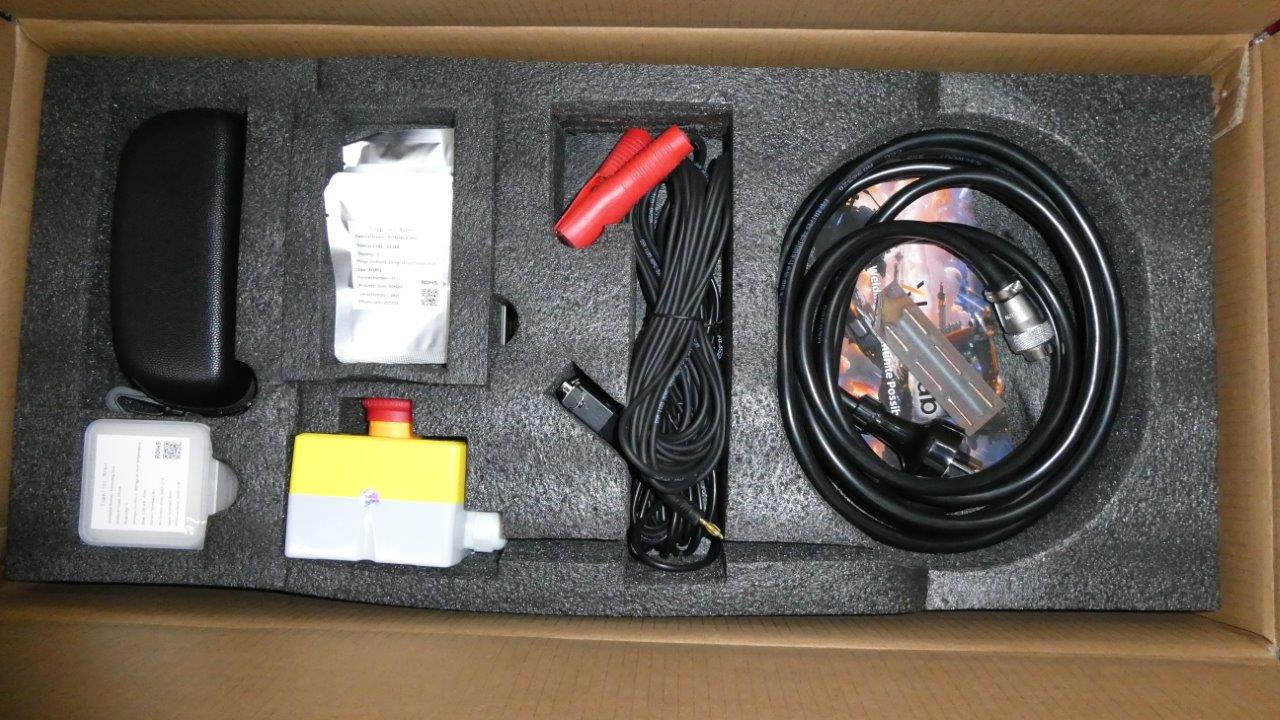
Everything was very well packed, which it needs to be considering the way courier companies throw things around! This is the first layer and has welding glasses, got a helmet too in the other box, and the emergency stop button etc.
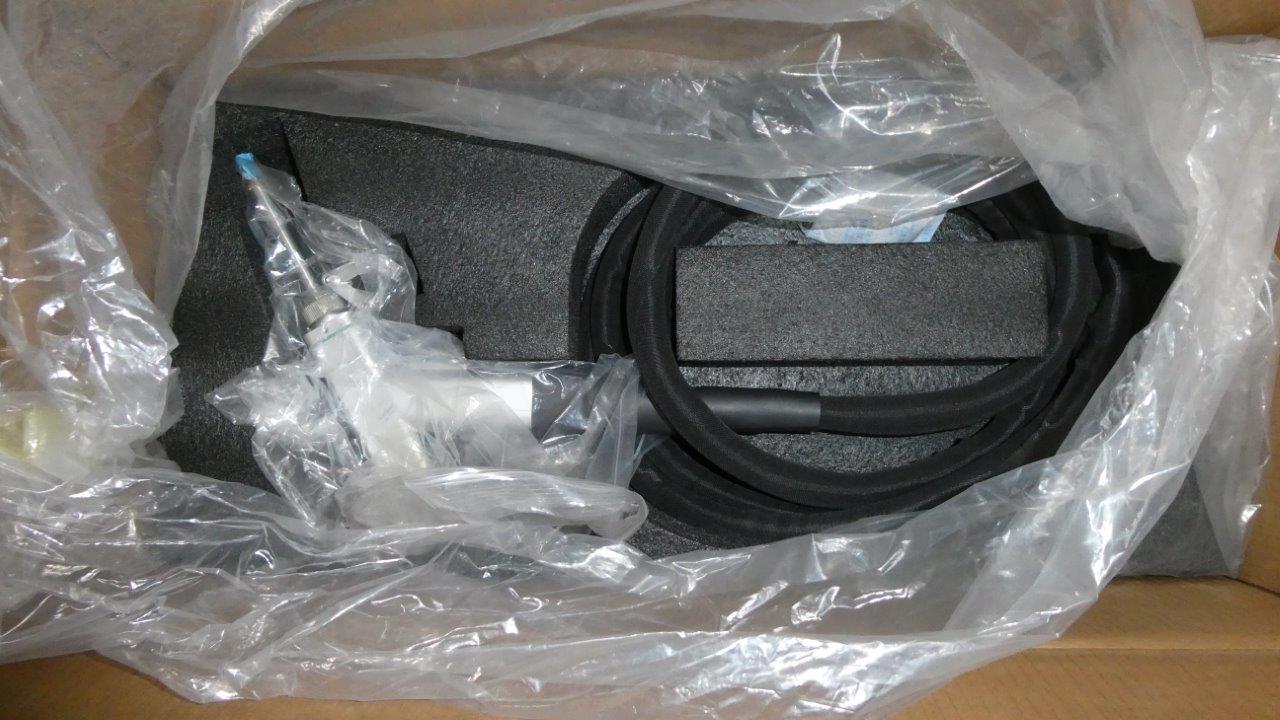
Under that is the gun and lead that carries the gas/air line, fibre optic cable and switch wires. You cannot just lift this shelf out like the top one as the gun is attached to the machine underneath. So fully un-coil it and then take the packing out.
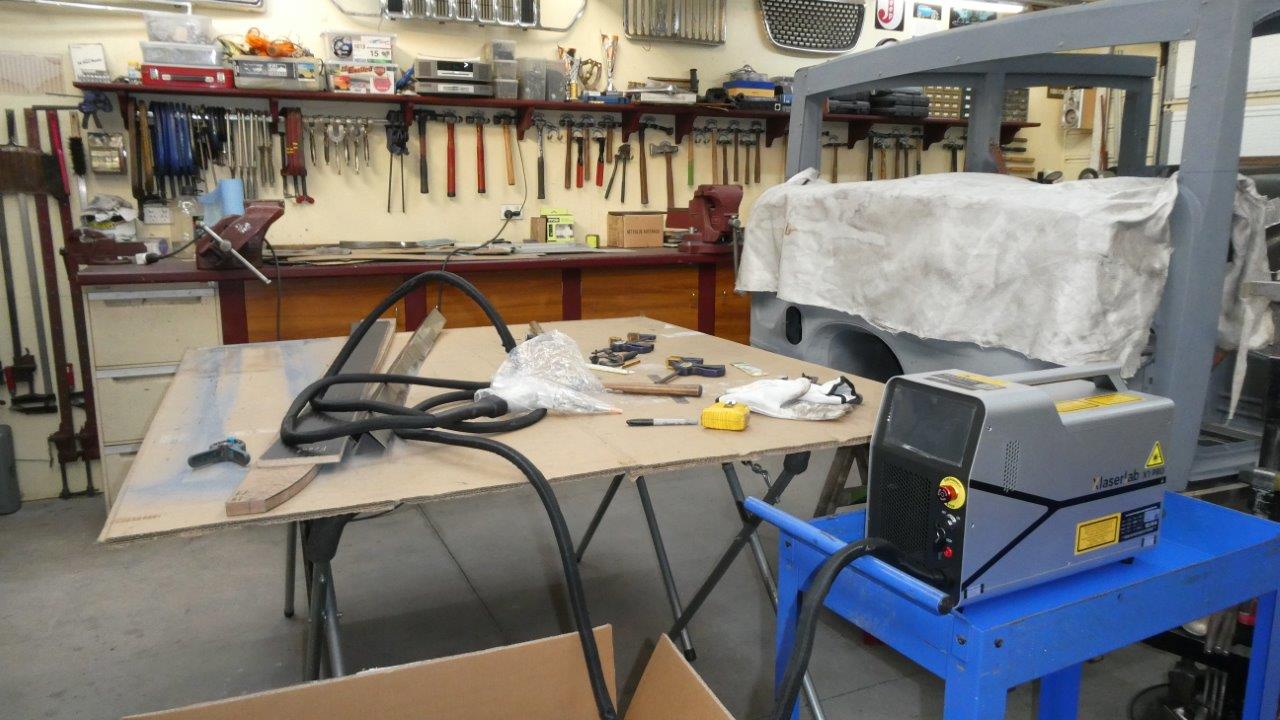
I could then lift the machine out and placed it my old tool cart to see if I could use it. I am that short on space that I have to try and use any foot print I already have. Even though it is the smallest welding machine I own, it still has to have space for the wire feeder as well. It could just go on the lower shelf but was thinking I would rather use that for my TIG machine as I will be sharing the same argon gas as it is a good all round gas and already have it. The cleanest welds come from using Helium and has the most penetration, but expensive. Nitrogen is the cheapest but can cause embrittlement on certain stainless grades. Have seen MIG gas even used though, but not as good an appearance and penetration as the former two gases. Do your research in the effects of the different types on how it effects penetration and lens protection too.
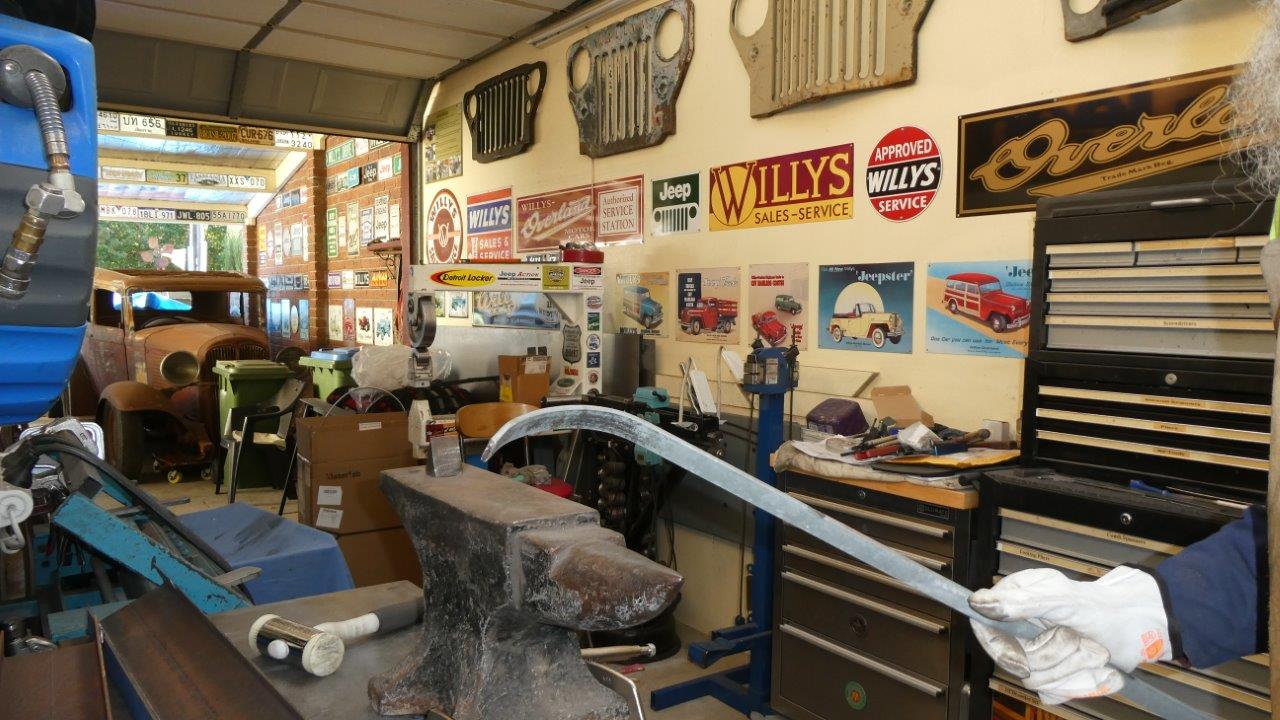
Started with building a ring to hold the gas bottle. Got my 'portable' anvil out and went back to my old blacksmithing roots to cold bend the 25x5mm-1"x3/16" strap.
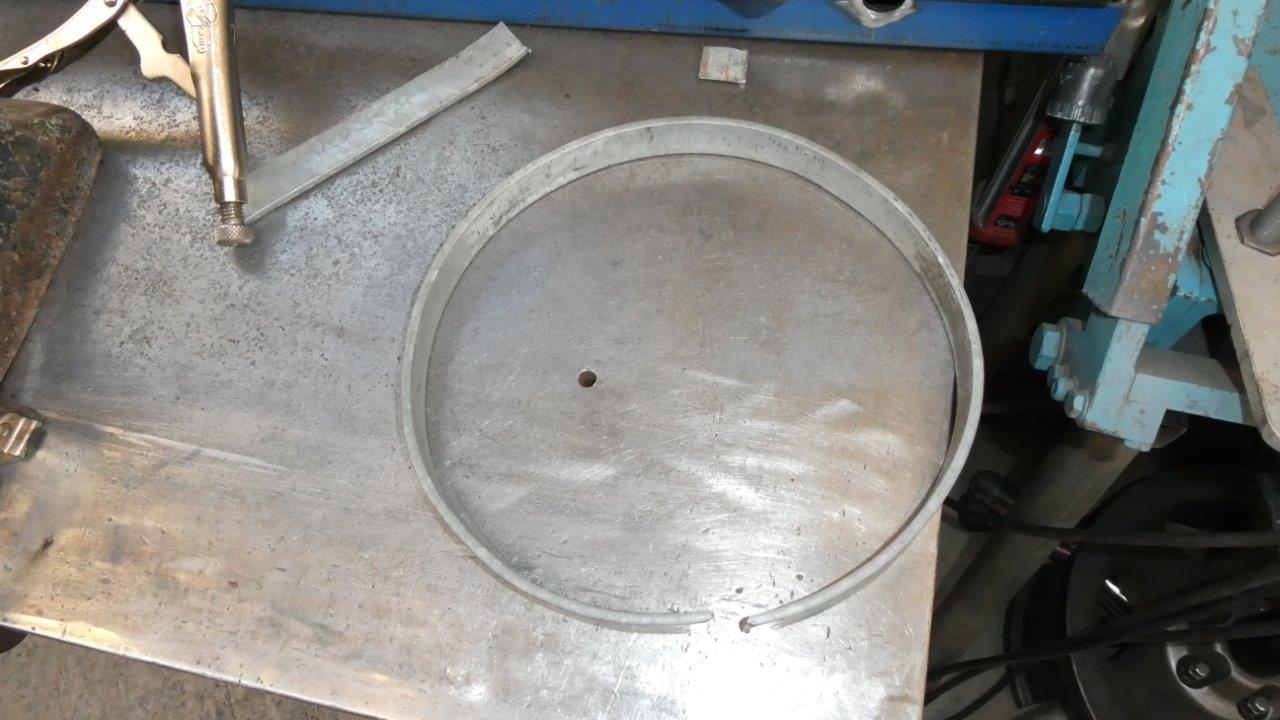
Final shaping will happen after the ring is welded together.
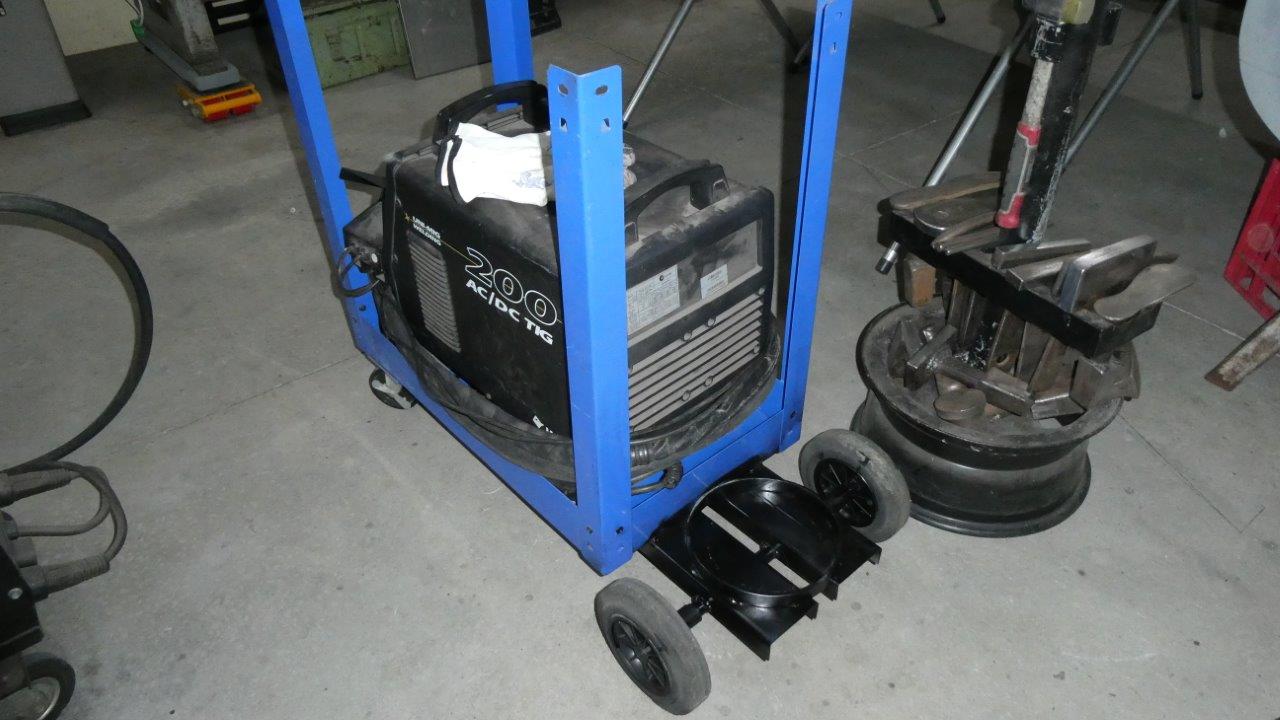
Had some channel that I welded under the floor that goes all the way to the front of the cart. The rear axle I picked up on the side of the road and has a solid 22mm-7/8" axle and solid rubber tyres from a 240 litre garbage bin. My TIG fits in the lower shelf and I there will be another just above it for consumables.
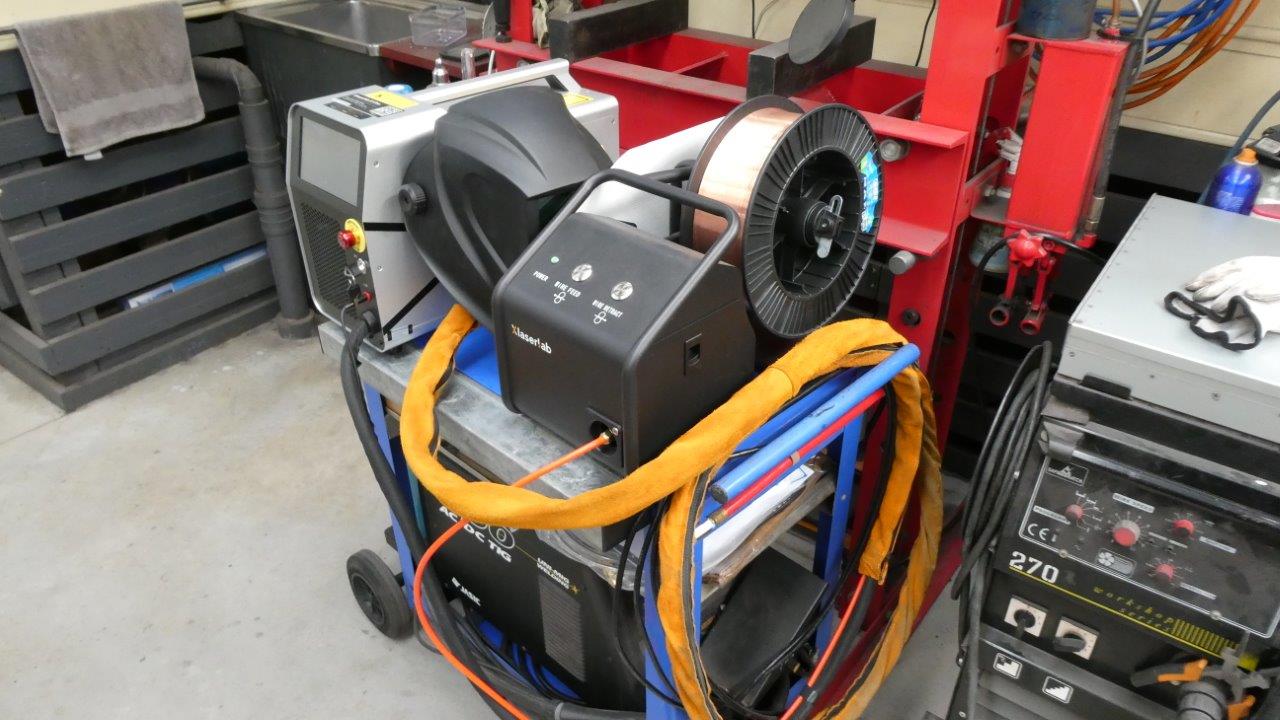
I ended up turning the top shelf upside down and extending the width with some scrap tubing so the feeder and welder could sit side by side. Most people modify a universal welding cart if you are not trying to house two machines and save foot print like I am. The handle makes a great lead holder too as you should not bend the lead too tightly with the glass fibre inside.
The machine comes with an instruction manual that is not the clearest, but they have a number of videos to help, https://www.xlaserlab.com/blogs/academy/x1pro-laser-welder-unboxing-installation, and there are plenty of users with their videos, so wont repeat the process here. But my personal experience after turning on the machine for the first time was not a good one. Followed the procedure and heard the fan come on and it powered up the wire feeder, but nothing came up on the touch screen! Asked about it on the Facebook group and I had myself a DOA, (Dead On Arrival)! Very little reports of this happening so I contacted support and waited until China time to get a reply. Was asked to send a video on turning it on and showing the setup. Was sent a UPS return ticket the 2 days later and asked to only send the one box back that had the machine in it with everything in it. Rather than going back to the local warehouse, it was going back to China where the boxes contents would be checked to make sure it was complete and then a new replacement would be sent out immediately from the local warehouse they said. UPS got it delivered back to them in 3 days and I notified them it was there. They said that until it is officially received and signed off, it could not be inspected and a new replacement sent out. They kept this up for a week with typical AI responses! But I had the UPS receipt that gave a name of who did sign it and I sent that to them and stating that I will be seeking a full refund from my credit card company in 48 hrs unless I got notice that the new machine was on the way. Next day they said it had been inspected and got given a new tracking number from the local warehouse and got the new machine.
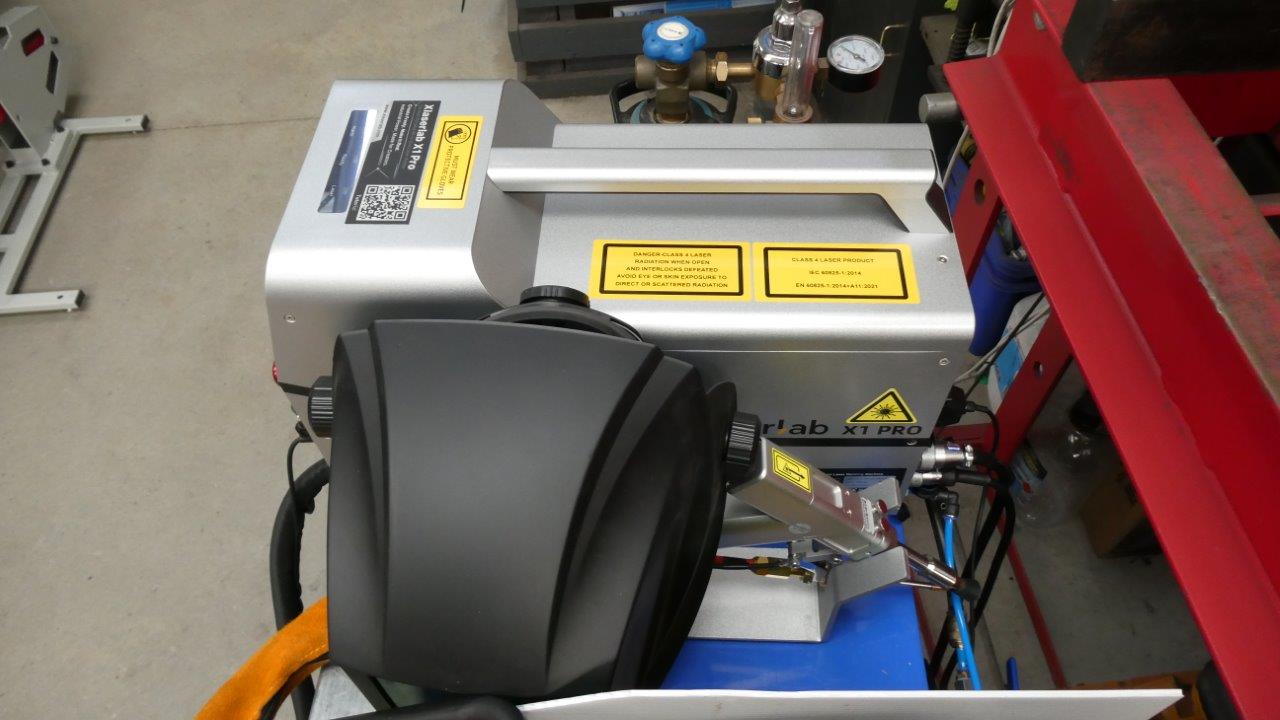
The alloy gun holder, that comes with the machine, I epoxy a magnet to each corner so it stays nice and solid when on the cart or work bench. I also place the laser specific welding helmet over it each time I put the gun away so I don't accidently grab my other welding helmet. You cannot use them at all!
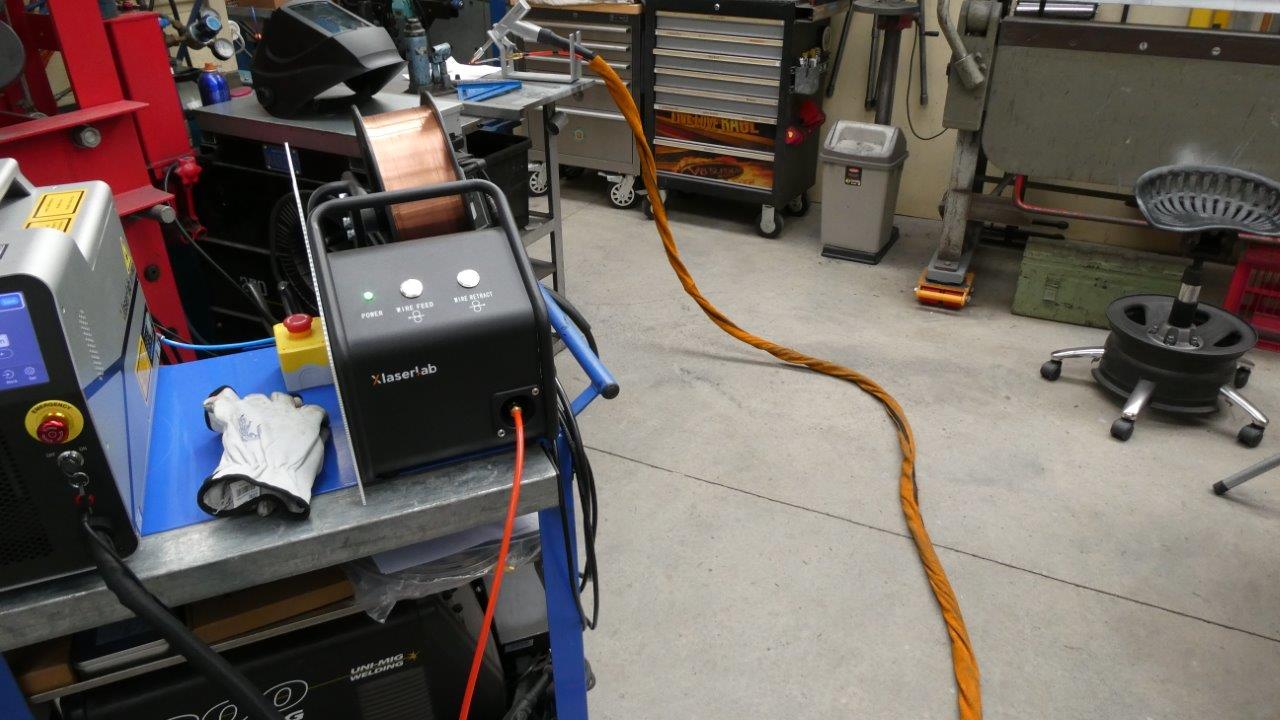
While waiting the replacement machine, I was already was coming up with better ways to set the machine up. The stock wire feeder line is only 3 metres long, yet the laser gun lead is 5 metres long. That might be fine if you are using a lot of aluminium wire where shorter is less likely to bird nest, or using small spools and can place the wire feeder closer to your work, but for my setup with 15kg spools plus the wire feeder weight, it was too awkward. I am running the thinnest wire at 0.8mm-21ga. but it can run as high as 1.6mm-16ga. It provides the tips and rollers for the range of gauges in between too. So I ordered a 5 metre version to suit a SUP wire feeder. https://www.aliexpress.com/item/1005008503490549.html?spm=a2g0o.order_list.order_list_main.41.21ef18029YOT2s Same brand as the gun, and it is what I like about this machine, is that you can get commonly available parts like lens etc too. Also got a leather zip on cover to protect the lead from weld and grinding sparks etc. https://www.aliexpress.com/item/1005011895527666.html?spm=a2g0o.order_list.order_list_main.15.21ef18029YOT2s
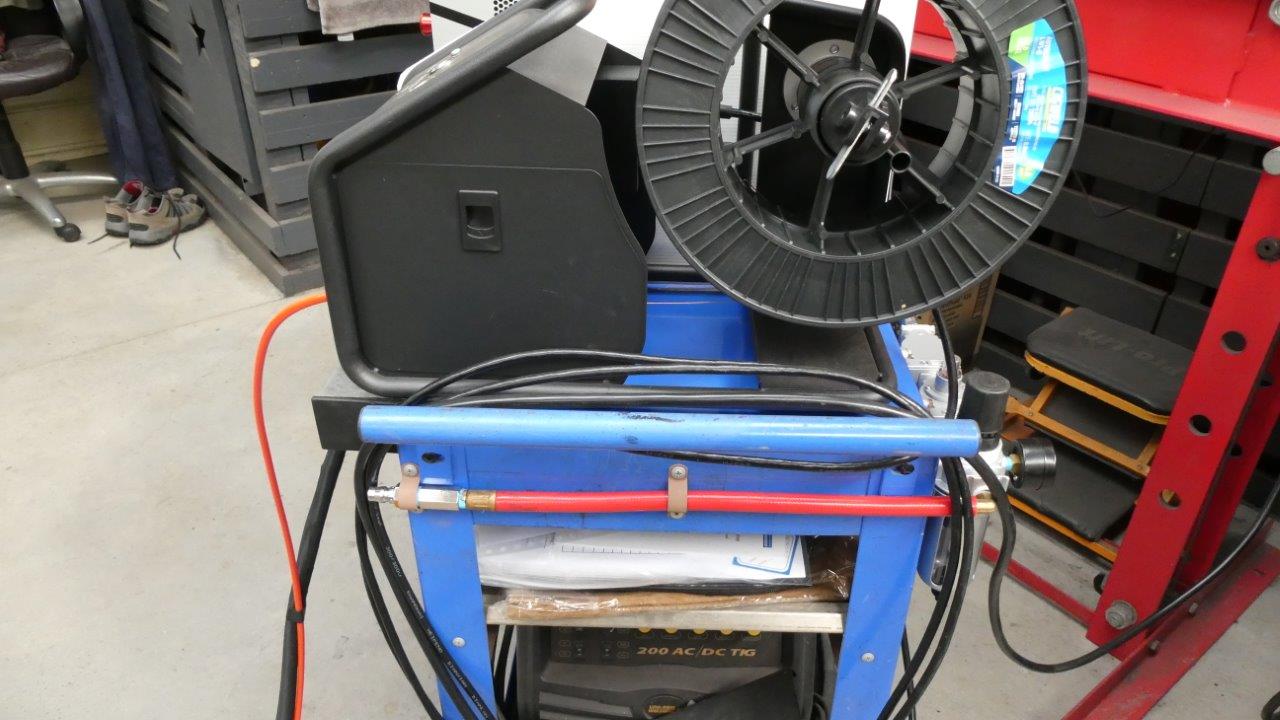
The laser just needs inert gas like argon for welding, but you use compressed air for cutting and cleaning functions. Cutting is actually harder with bottle gas as cools the molten pool too much and it fuses back together. The laser only has one feed though so I have this setup to easily switch between the argon and air feeds. This is the start of my compressed air connection. I start with a male Nitto fitting that my airline connects too. It has a one way check valve straight after it to seal the filter/drier system from being contaminated from dust and moisture when the airline is not connected. If you don't have the check valve right at the start, the desiccant in the drier will absorb all the moisture from the atmosphere and need to be changed every time before using the machine!
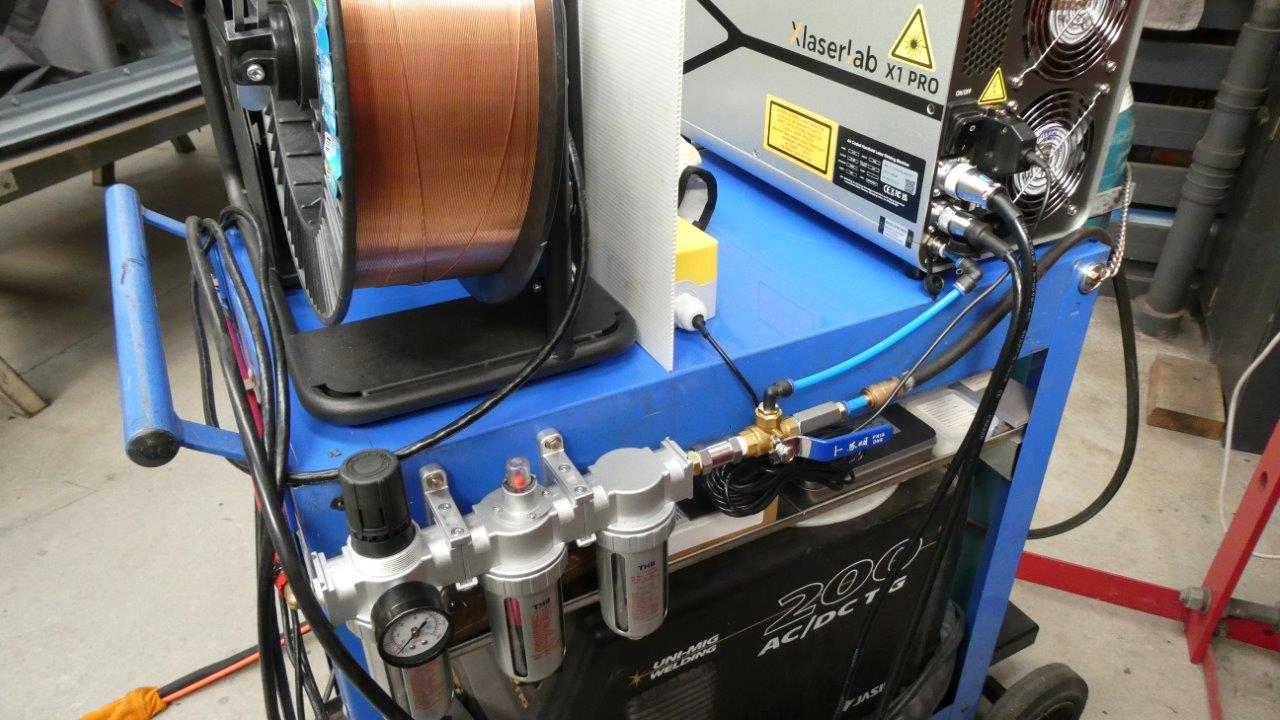
You need to make sure the compressed air is filtered and dry. To make sure there was no restriction while going through the system, I used a 3/8" THB filter/regulator/drier, model FML863. In Australia I purchased this from Trade Tools. https://www.tradetools.com/thb-filter-regulator-dryer-flm863 This then leads into another one way valve to make sure gas does not feed into the drier system and only goes up into the laser feed line out of the top of the control valve. The L port ball valve, https://www.aliexpress.com/item/1005007456966046.html?spm=a2g0o.order_list.order_list_main.106.21ef18029YOT2s sits inbetween and should prevent mixing, but the one way valves are added insurance. Use either NPT or BSP depending on country and what suits your setup. The gas side of the L port valve has another one way check valve to make sure the compressed air does not run up your gas line and ruin you gas regulator! I used these ones, https://www.aliexpress.com/item/33001052915.html?spm=a2g0o.order_list.order_list_main.66.21ef18029YOT2s as well as https://www.aliexpress.com/item/1005011591720232.html?spm=a2g0o.order_list.order_list_main.51.21ef18029YOT2s From there I used a male water cooler quick connect to join my gas line from the bottle as that was the fitting on the back of the Uni-Mig TIG welder. This way I can quickly release the line and plug it back into the TIG should I need to. So a quick run down. With the handle on the L port ball valve to the right, it lets argon gas pass through the check valve and up out the top and into the 6mm push fittings and into the machine. The opposite when flipped the other way. The machine comes with the 6mm push fitting already installed in the back of it and even comes with some line.
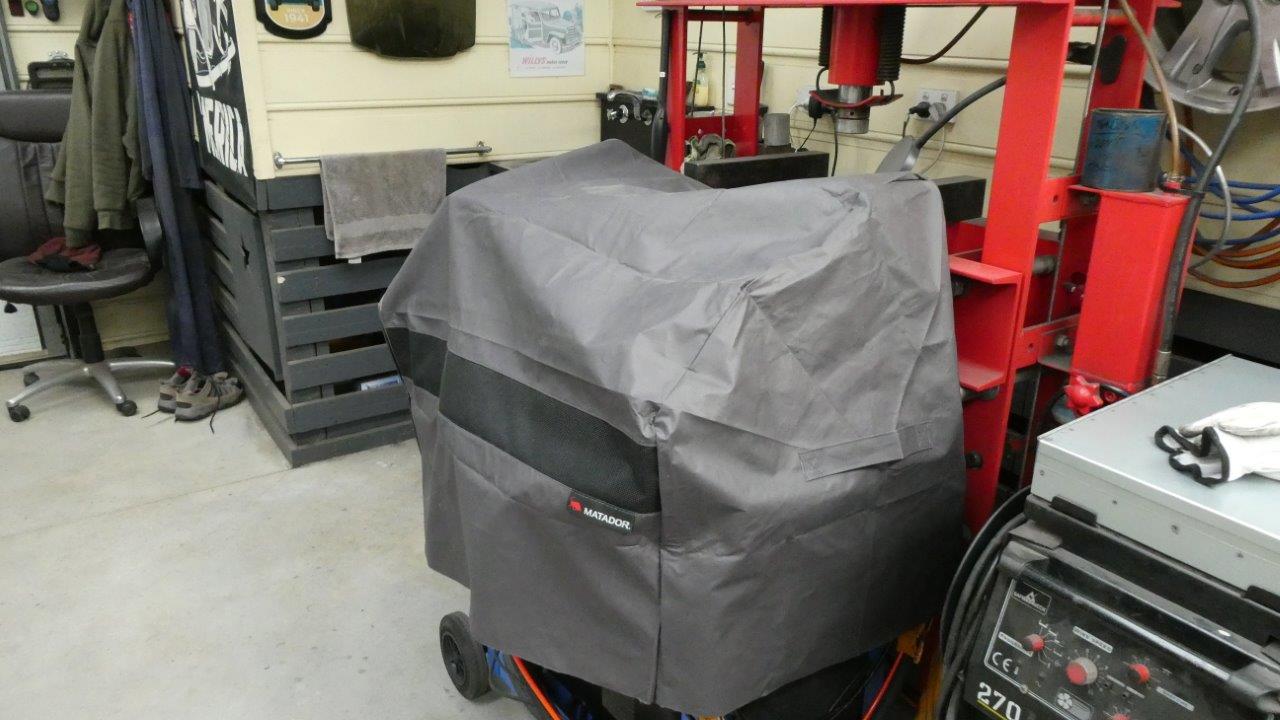
Last of all I got a barbeque cover that fitted my setup to keep dust and sparks etc away from the machine when not in use. I would not want a shower of sparks to land on the touch screen!
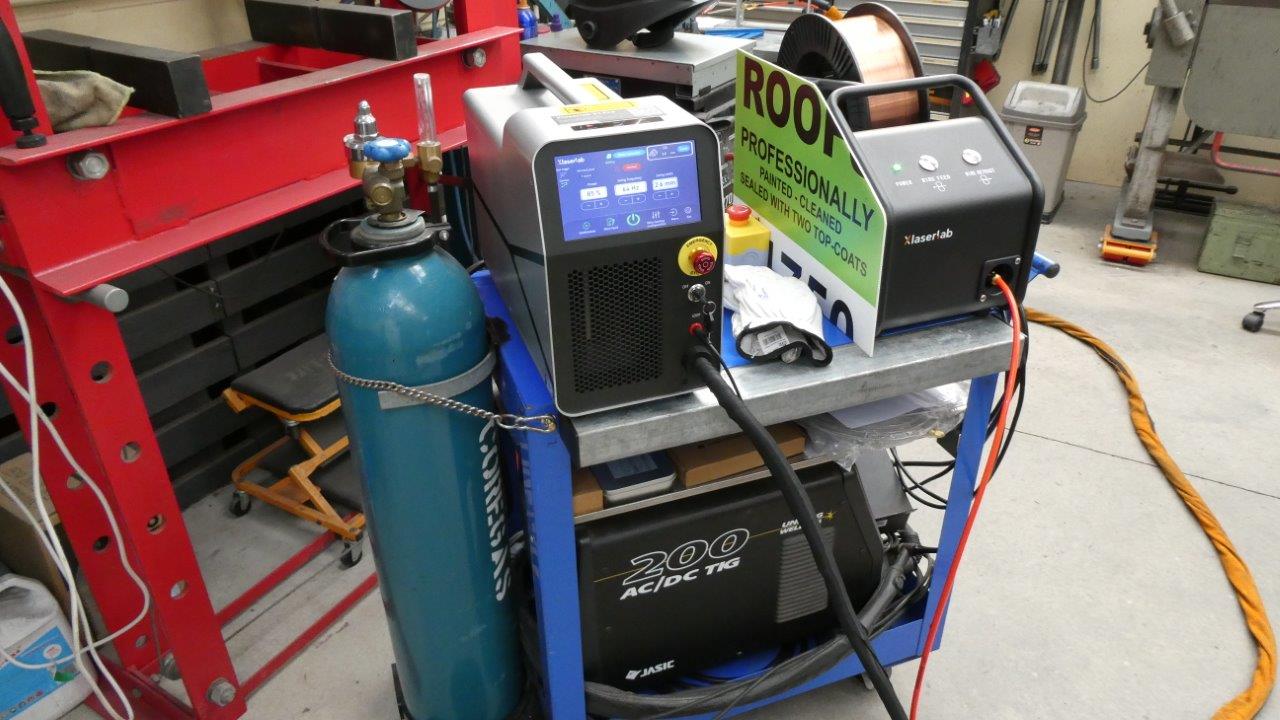
Well the replacement machine fired straight up and has been working flawlessly ever since! I always turn the gas on first followed by the main switch at the back. What is great too is that the 5 metre lead is long enough to reach my welding table and even the other side of the car!
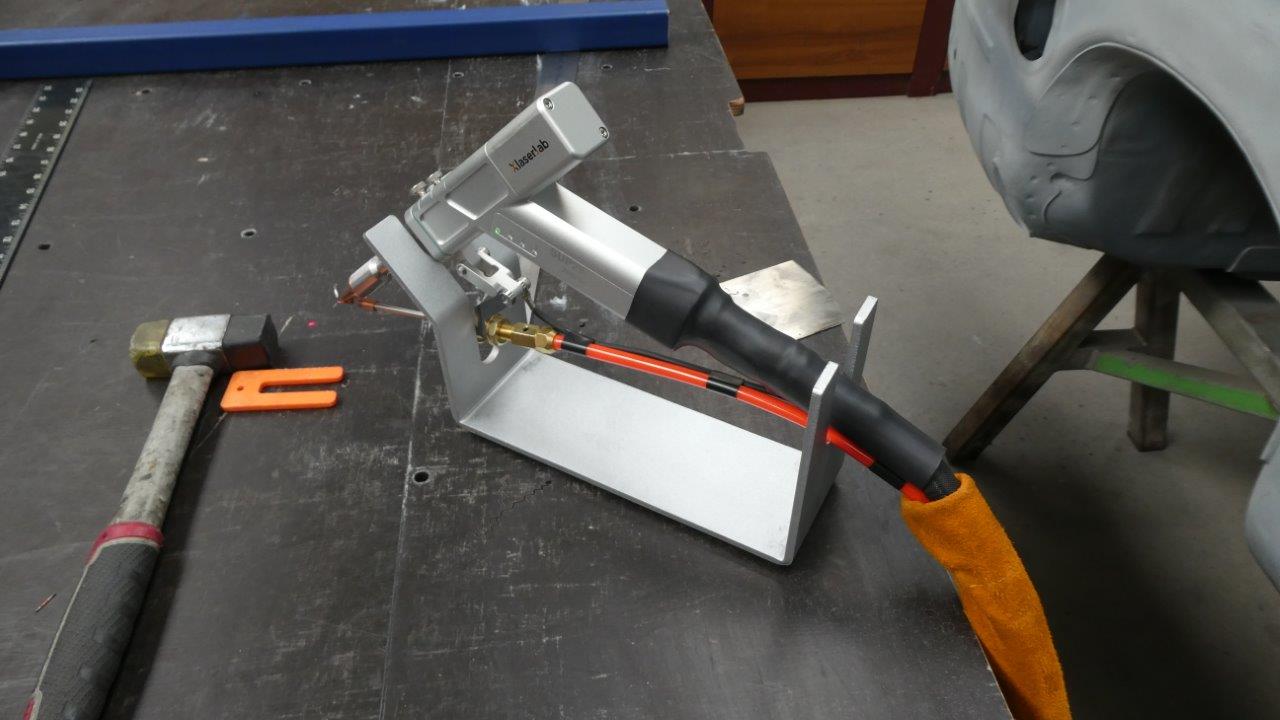
Being an experienced welder of 40 years, I have the safety clip wire hooked straight to the gun at all times. It is not an earth like with TIG or MIG. You need to do this anyway when in the cleaning function, but you run the safety risk that pulling the trigger sets off the laser and will go straight through anything in front of it. Do so at your own risk but don't lecture me about my own choice. I think you can connect it to the back of the machine too as there is a screw for it, but have not tried it. Otherwise use the provided clamp on the work piece and make sure you have good contact the whole time while dragging along the gun resting directly on the metal being welded. If the gun jumps at all, it will cut the laser. It would also stop you from filling any small gaps and holes as you need to hover over the gap or join.
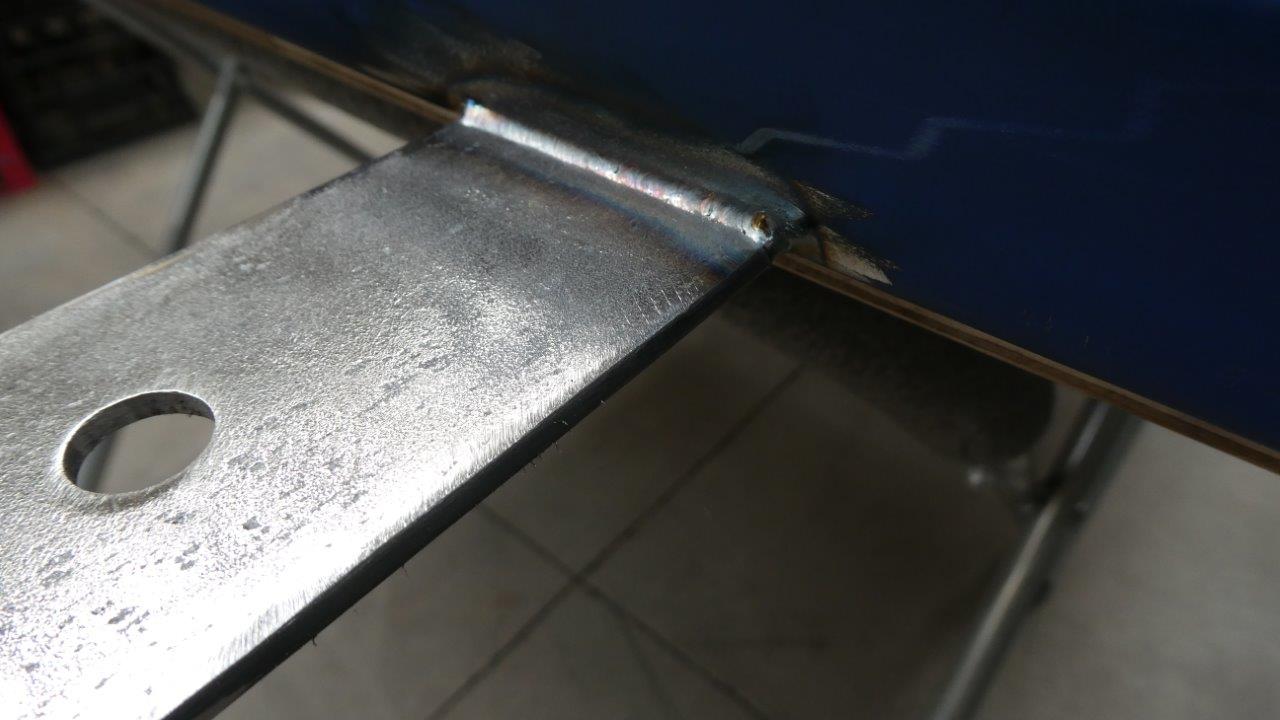
I ran some practice welds on scrap for a short time before trying it on a job I was doing for our daughter. I am welding 3mm-1/8" tabs to this 1.6mm-1/16" SHS tubing. I just set the menu to CS, (carbon steel), 2.0mm. Only thing I altered was the swing width to 2.6mm to spread the weld out wider. Swing is how much the laser oscillates left to right while welding. You just hold the gun relaxed so the wire feeding out of it pushes the gun along. If you are all tense, you will stop the natural movement of the gun along the join. I'm pretty pleased with the result!
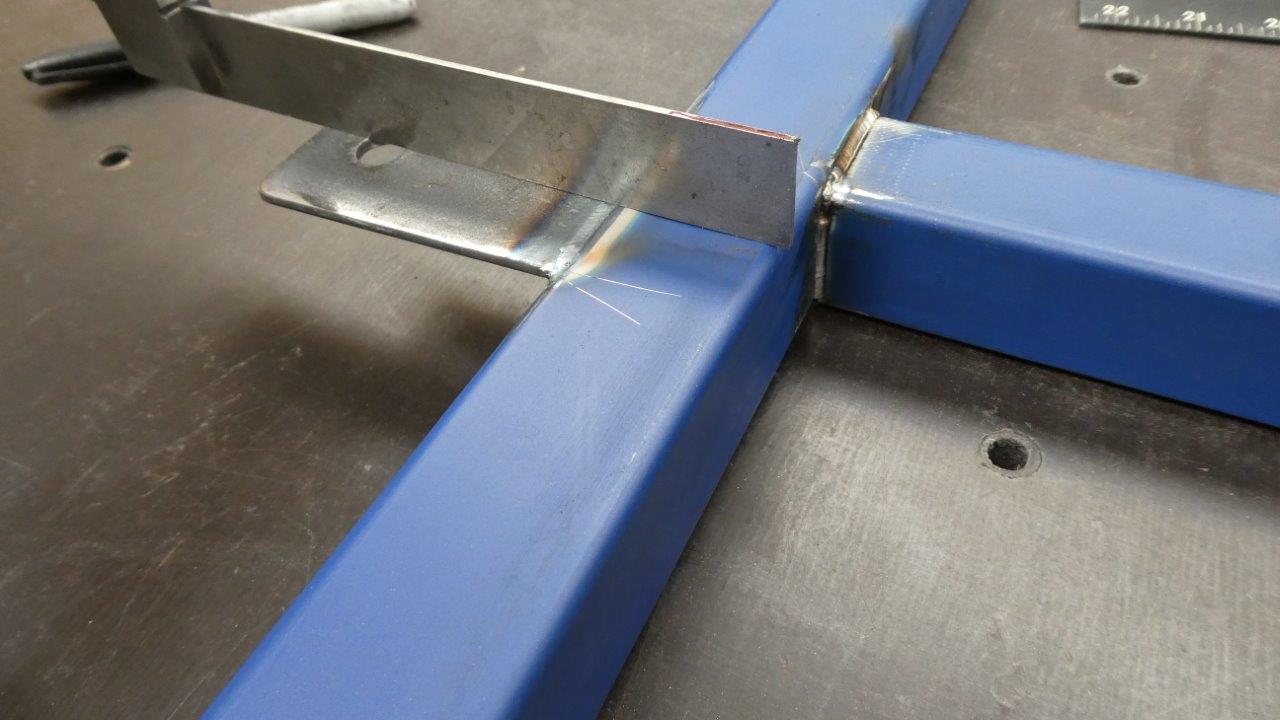
I had set this tab up with a holding magnet and tacked the corners first. Then welded across this side and then the fillet weld on the other side shown above. Just look at how flat and true the tab still is! No hammering the tab back level at all or pre-set. You can see some of the other frame welds I did too. I cover using it on sheet metal next and how it compares to MIG and TIG.